
说在前面:我第一次建站的时候是根据教程直接安装wordpress在云服务器上,这样有个好处就是可以直接通过服务器公网 IP 或者解析到这个 IP 的域名进行访问。这种情况安装SSL证书通过HTTPS查看网页也比较方便,在宝塔上点一点就可以设置好了。后来域名到期直接用 ip + 端口的方式好长的时间,随着项目越来越多,就根本记不住必须依赖需要导航页了。这次购买10年的域名,终于在国庆后通过管局审核,立马将所有的项目全部替换成域名访问,这篇文章就记录了整个过程。
两种人需要用反向代理:
- 第一类是本身有公网 IP 没有云服务器,但是群晖内部有不同项目,比如说jellyfin,drive等需要用到不同端口。 这种情况可以直接通过域名+端口号来访问不同项目,只需要将公网IP解析到自己的域名上。但是如果想通过不同二级域名直接访问不同项目,不用再手动添加端口号则需要进行反向代理。
- 第二类就是像我这种没有家庭公网 IP ,通过NPS内网穿透访问的群晖。
这种情况,也可以直接通过域名+端口号来访问,只需要将公网IP解析到自己的域名上。
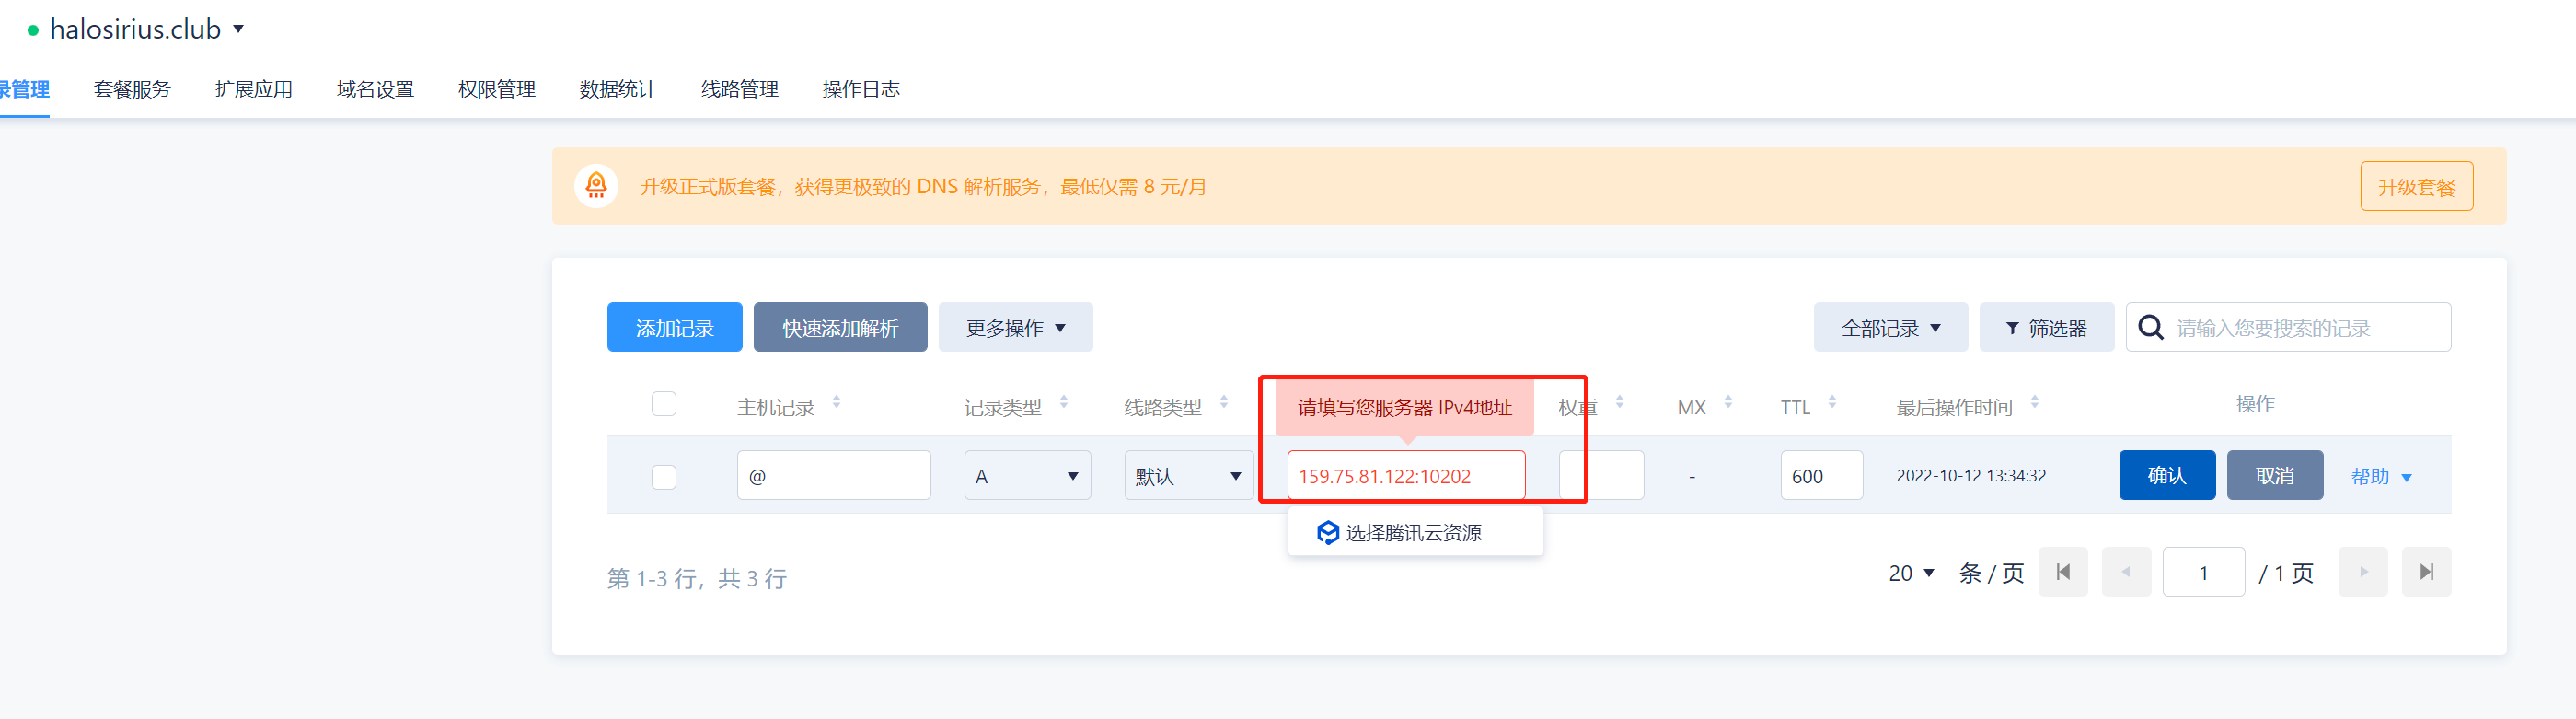
这是因为域名解析的时候是无法指定端口的,只能填写IP。那么当我们在浏览器中输入域名时,浏览器会默认帮我们添加上端口号80,除非我们手动改端口号,所以一般情况我们不能省略端口来访问群晖。但是如果我的博客没有放到云服务器上,那就不能直接输入域名访问了,还需要加上指定端口,这也太不正规了,我现在就想达到下面这种效果,包括访问群晖登录界面也是。

一、 反向代理是什么
关于反向代理和正向代理是什么意思,可以参照这篇博客。
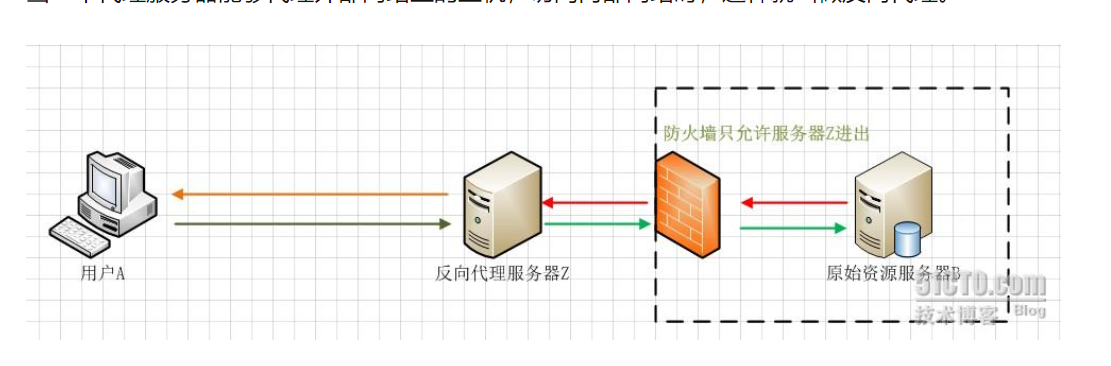
我们可以设置非常多个域名都指向同一个反向代理服务器,然后根据外界用户访问的域名来把这个流量转发到另一个服务器的某个端口上。 比如我现在有两个域名: halosirius.club、a.halosirius.club,都指向同一个公网IP,那么在不做其他设置的情况下,访问两个域名的效果是相同的,都会访问ip +80端口,但是如果我们设置了反向代理,就可以访问到另一台服务器的任意一个端口了。
二、需要怎么做
我拿这个博客作为例子,博客安装在我本地的一台黑群中,黑裙和云服务器通过NPS连接服务器的8090端口转发给黑裙的8090端口,我正常情况下访问博客需要通过 云服务ip+8090。我现在要实现 songshiyu.cn直接访问这个博客。
- 首先ssh连接云服务器
要说明的是,我这台云服务器刚买来就安装了宝塔面板,然后通过宝塔面板安装了nginx。根据你安装nginx的目录调整下面的路径:
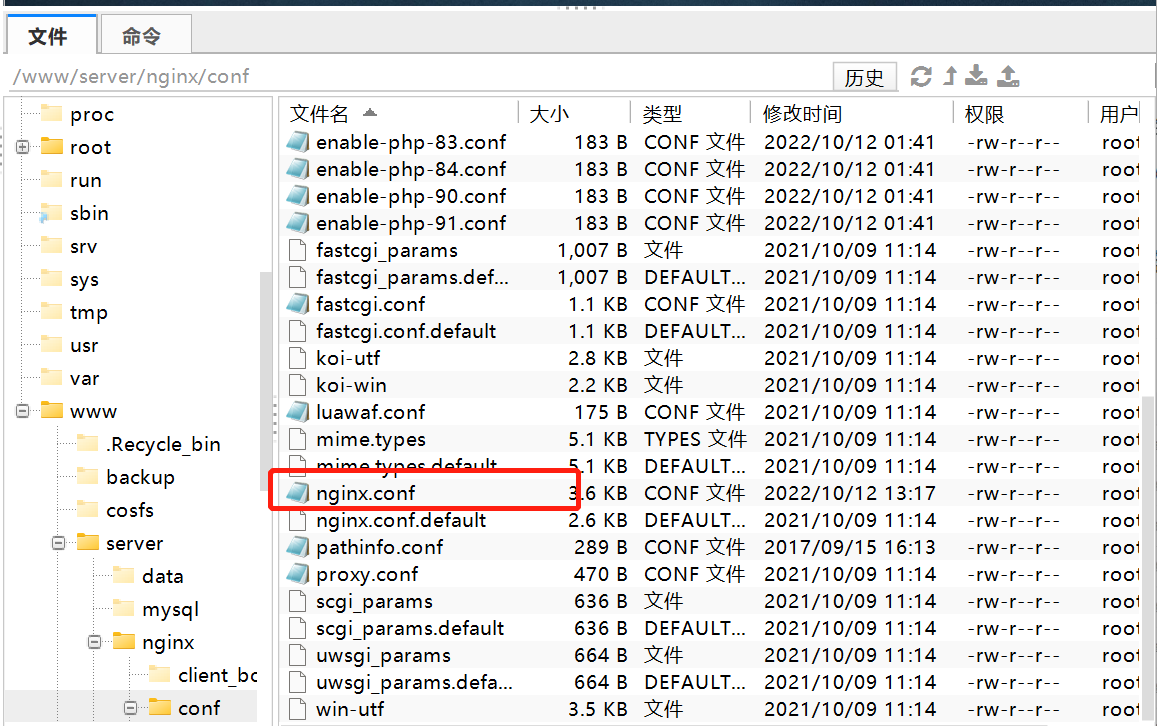
我这里通过宝塔安装的,所以配置文件路径是在/www/server/nginx/conf,如果是finalshell可以直接打开文件,初始文件如下所示:
#user  nobody;
worker_processes  1;

#error_log  logs/error.log;
#error_log  logs/error.log  notice;
#error_log  logs/error.log  info;

#pid        logs/nginx.pid;


events {
    worker_connections  1024;
}


http {
    include       mime.types;
    default_type  application/octet-stream;

    #log_format  main  '$remote_addr - $remote_user [$time_local] "$request" '
    #                  '$status $body_bytes_sent "$http_referer" '
    #                  '"$http_user_agent" "$http_x_forwarded_for"';

    #access_log  logs/access.log  main;

    sendfile        on;
    #tcp_nopush     on;

    #keepalive_timeout  0;
    keepalive_timeout  65;

    #gzip  on;

    server {
        listen       80;
        server_name  localhost;

        #charset koi8-r;

        #access_log  logs/host.access.log  main;

        location / {
            root   html;
            index  index.html index.htm;
        }

        #error_page  404              /404.html;

        # redirect server error pages to the static page /50x.html
        #
        error_page   500 502 503 504  /50x.html;
        location = /50x.html {
            root   html;
        }

        # proxy the PHP scripts to Apache listening on 127.0.0.1:80
        #
        #location ~ \.php$ {
        #    proxy_pass   http://127.0.0.1;
        #}

        # pass the PHP scripts to FastCGI server listening on 127.0.0.1:9000
        #
        #location ~ \.php$ {
        #    root           html;
        #    fastcgi_pass   127.0.0.1:9000;
        #    fastcgi_index  index.php;
        #    fastcgi_param  SCRIPT_FILENAME  /scripts$fastcgi_script_name;
        #    include        fastcgi_params;
        #}

        # deny access to .htaccess files, if Apache's document root
        # concurs with nginx's one
        #
        #location ~ /\.ht {
        #    deny  all;
        #}
    }


    # another virtual host using mix of IP-, name-, and port-based configuration
    #
    #server {
    #    listen       8000;
    #    listen       somename:8080;
    #    server_name  somename  alias  another.alias;

    #    location / {
    #        root   html;
    #        index  index.html index.htm;
    #    }
    #}


    # HTTPS server
    #
    #server {
    #    listen       443 ssl;
    #    server_name  localhost;

    #    ssl_certificate      cert.pem;
    #    ssl_certificate_key  cert.key;

    #    ssl_session_cache    shared:SSL:1m;
    #    ssl_session_timeout  5m;

    #    ssl_ciphers  HIGH:!aNULL:!MD5;
    #    ssl_prefer_server_ciphers  on;

    #    location / {
    #        root   html;
    #        index  index.html index.htm;
    #    }
    #}

}
我们重点看这里:
  server {
        listen       80;
        server_name  localhost; # localhost替换为指定的域名,比如我是songshiyu.cn访问博客我就填songshiyu.cn

        #charset koi8-r;

        #access_log  logs/host.access.log  main;

        location / {
            root   html; # 删掉
            index  index.html index.htm; # 删掉  替换为 http:// ip+ 自定义的端口,我这里填8090
        }

        #error_page  404              /404.html;

        # redirect server error pages to the static page /50x.html
        #
        error_page   500 502 503 504  /50x.html;
        location = /50x.html {
            root   html; #
        }
    }
修改完成后,在命令行输入:
nginx -s stop
nginx
重启nginx,此时我们访问sognshiyu.cn这个域名就相当于访问# 删掉 替换为 http:// ip+ 自定义的端口,我这里填8090这个地址了。替换成你们自己的地址就能实现类似的效果。
如果有人不懂# 删掉 替换为 http:// ip+ 自定义的端口,我这里填8090这个怎么设置,请参照另一篇文章。NPS内网穿透实现远程桌面
下篇文章将介绍怎么反向代理实现https访问域名,并将http重定向至https。